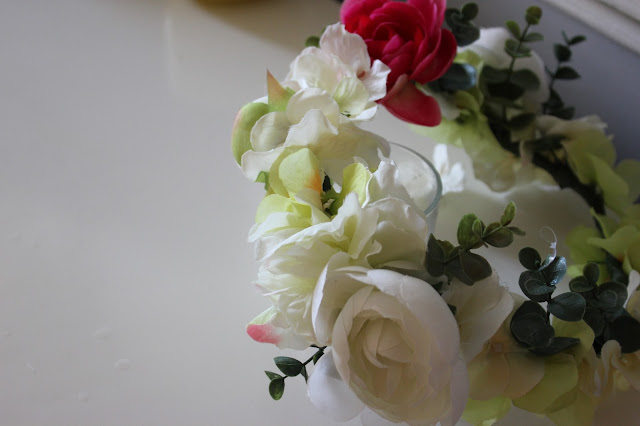
With one project done, another begins. I completed (& got to use!) my floral crown and I couldn't be happier with how it turned out. It was much easier than I thought and todayI am sharing how to make a floral crown with fake flowers below!
I used flowers from Micheals and few smaller ones from the dollar store as fillers for any small gaps. I was able to make the fake flowers look real by using specific kinds and being very picky of which ones I chose as well as which ones I paired/grouped together.
I used ranunculus, eucalyptus stems, a peony and a hydrangea stem. I ended up using less than I thought I would but it was better to have extras instead of running out. My floral crown base was made using the stems of some faux roses for my wedding flower wall. Since I had so many extra stems that were going to be tossed out, I made use of the wired, already-green stems.
For this project I also used floral tape, a glue gun, scissors and kept some thin wire on hand in case I needed it. For the base, twist two stems together to ensure it is sturdy and can be extended in size if needed. measure around your head and add an extra half inch of space. This will be needed as the base of the flowers and floral tape will add bulk round the base. When using floral tape, be sure to give it a bit of a stretch so it gets tacky. Floral tape sticks to it's self so don't worry if at first it does not seem sticky at all!
I started with the large pink flower and arranged how I thought I wanted my crown to look. Arrange the crown so that it tapers out at the back and the bulk is off to one side. You don't want your entire forehead to be blocked by bulky flowers. I kept the peony one side with other white ranunculus while on the side I added a single pink ranunculus. I thought I would have used more of the pink but it looked better on it's own. I also used the hydrangea and smaller flowers to fill in small gaps as well as some yellow/green hydrangea bits from a Dollar store stem.
Start by removing the flowers from the stems and cutting them to have about an inch to a half inch stem that you can glue to the base. Add floral tape around to secure. Go around from the front to back on each side so that all the flowers are facing the front, gluing and taping along the way. At the end, use the smaller flowers to fill in spaces where you can still see the base. I also glued down some of the actual petals to the base if needed. Below, you can see photos with step-by-step directions.
Do you plan on making one of these or want to try some DIY? I will be at the Nikah convention sharing some tips on the main stage around 3:00 p.m.! Get your tickets online or at the door.
Photos of me taken by Belinda Burtt Photography.
Step-by-step photos below


No comments:
Post a Comment