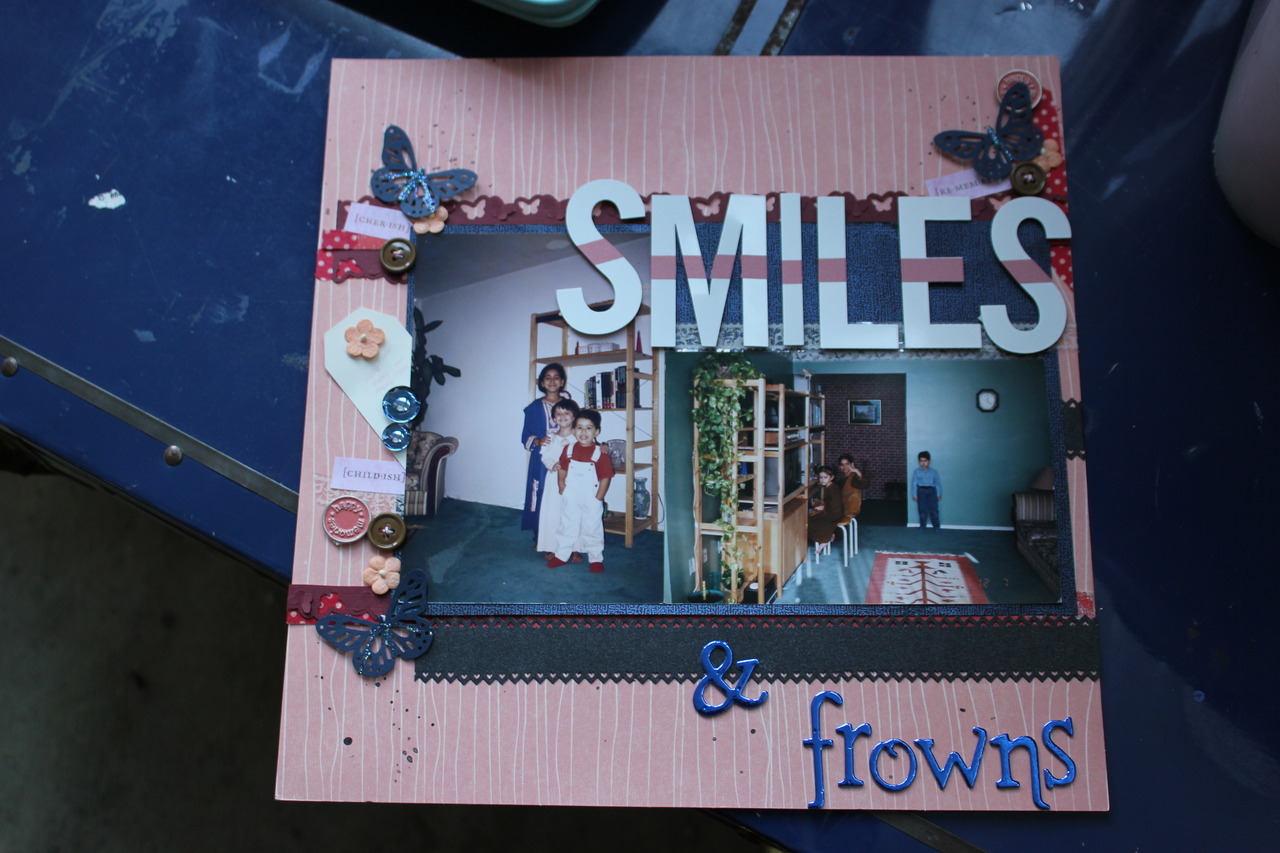
Scrapbook Layout. Scrapbook your life-This is me.

DIY blog with ideas for all types home decor and gifting projects. Project life and scrapbooking. DIY consulting and private workshops are available.
I finally created this piece for my room and these DIY instructions for you.
Here is what you will need:
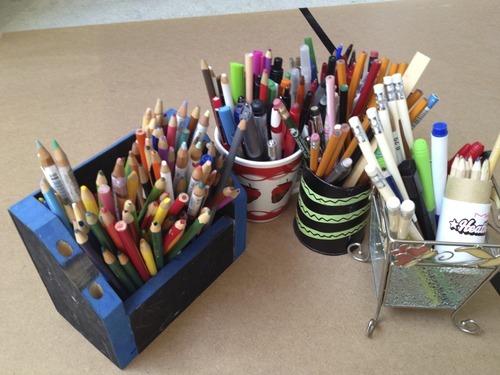
Start by collecting all of mishmash of pens and pencils
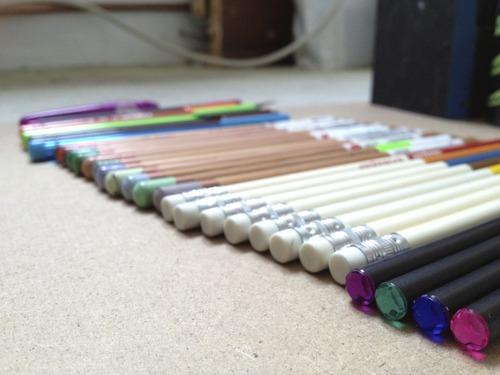
Separate, organize and sort the pencils/pens (put aside the ones you really want to keep…these were just too good to use up!)
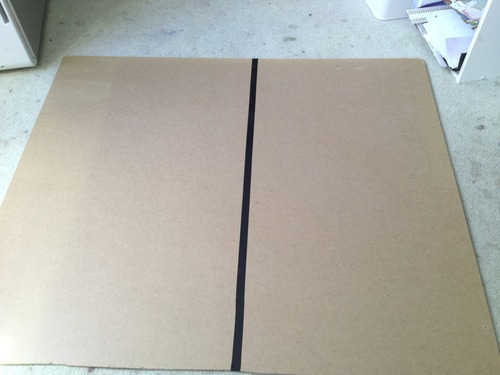
My plywood board was a lot bigger than I needed it so I taped off the part that I did not need and planned to saw that off.
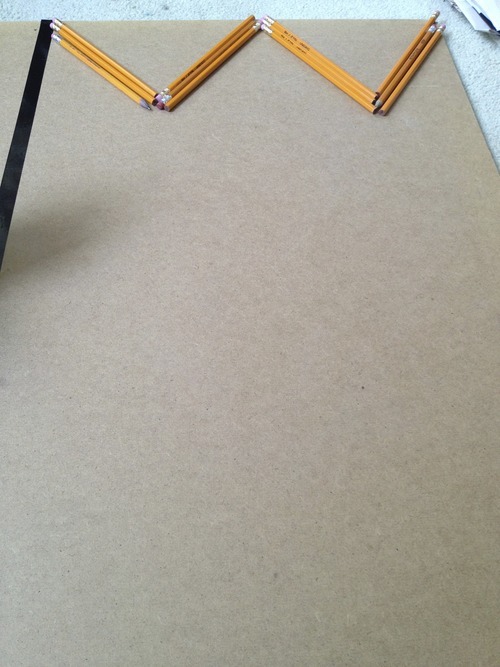
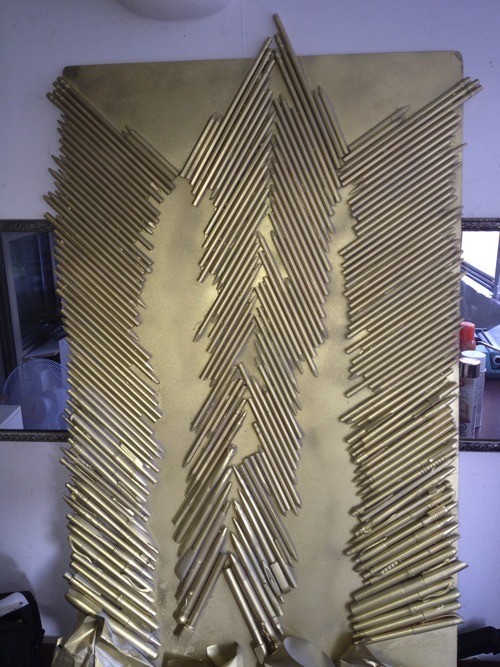
Start by placing pencils on top and working your way down, creating a pattern.
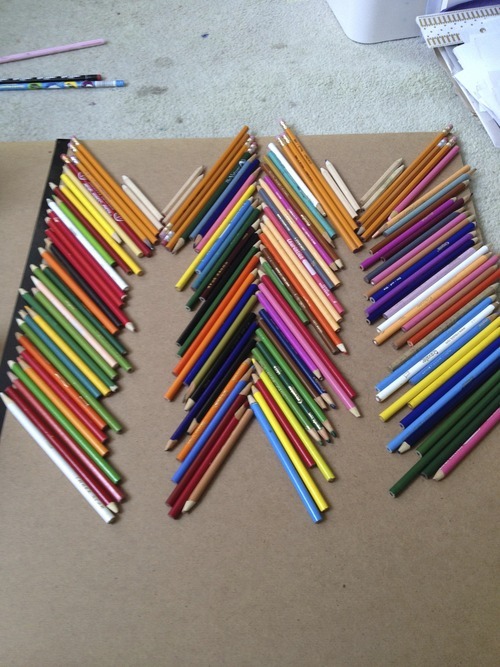
If you wanted you could use just the pencil crayons and put them in colour order.
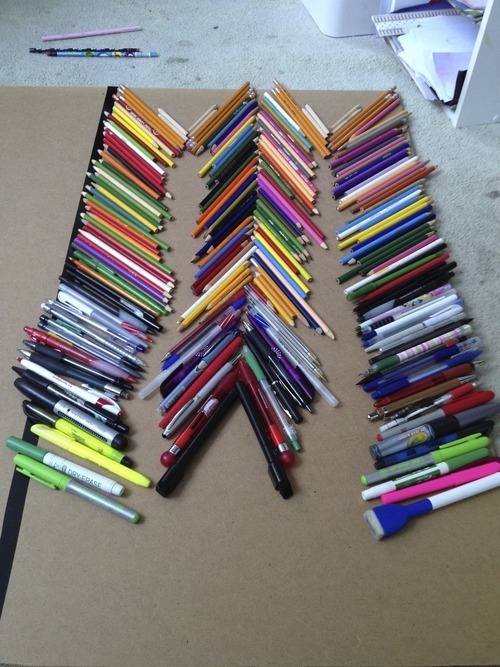
I arranged my board to my liking, having pencils on top, pencil crayons down the middle and finally pens/mechanical pencils and bigger markers near the bottom. My plan was to use up everything I had and paint over it.
Once arranged, heat up the glue gun and start gluing things down. Always plan first and then glue so that you are sure you like what you have made.
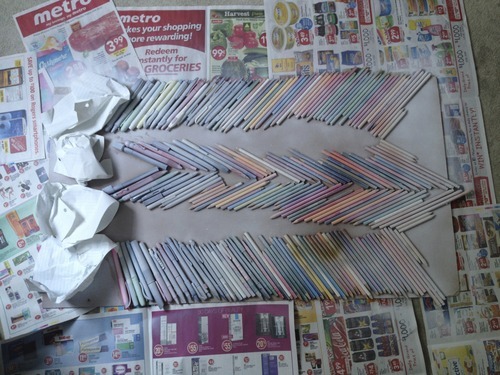
I finally filled in the bottom gap of plywood with some crunched paper and stuck it on with a spray adhesive.
I tried to take the glued board out the window to spray paint it, however due to the lack of space I used it in (sort of well) ventilated room with newspaper covering the carpet. First Spray with a primer so that you are spraying on white and the colour comes out the best it can.
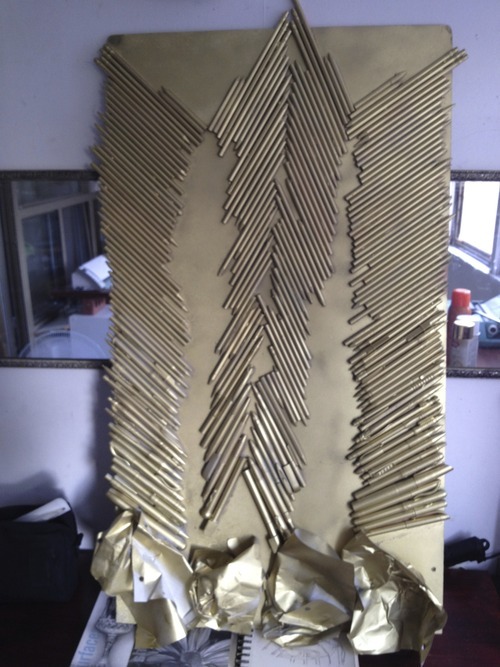
and the Final Product will look like this at the end! A Lovely add on into any room.
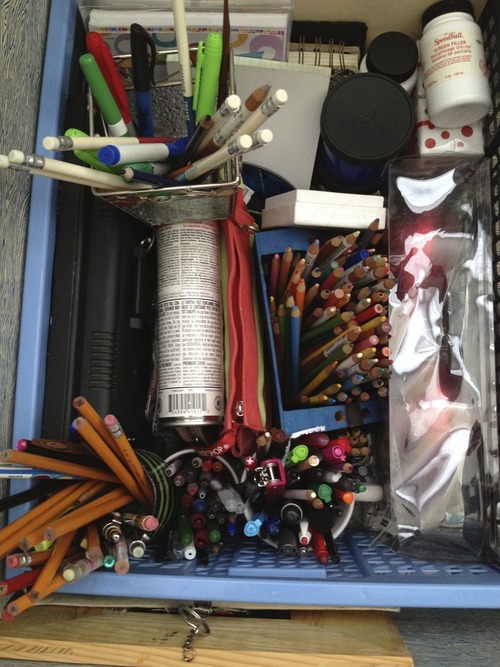
So here is what I stash away in a box where no one else can see. Pens and Pencils galore (& this isn’t even everything!). I have always had a thing for buying more schools supplies even though I already had some or buying a pen here and pencil there because it was cute or because somehow I could not wrap it around my head that I already had some yellow number 2 pencils at home-unused and unsharpened. Until today I had not taken everything and put it side by side to reveal what I collected over the years. I am at a point where I cannot just toss these out and I also cannot just leave them there unused. That is how I came up with an idea to use them and display them in a way that I could repurpose them and upcycle them, yet still enjoy them without feeling like I have wasted them.
My goal for this project is to come up with a piece to use all of these pencils and pens to create something new and display worthy. What I have in mind is to cover a large piece of plywood in every single one of them (except maybe the reaaalllllyyy pretty ones!). I have visioned a board which I glue gun everything down to the raw brown board and then I will spray paint the entire piece one colour. I am thinking gold spray paint because I love sparkle and shine, however, since I do share a room with my sister I will have to get her approval on the color choice. I am hoping to work on this today and have everything glued today. I am either going to create a chevron pattern across because that is really in right now, or then have straight uniform lines across horizontally or vertically. That is my starting point for this project, I will add photos throughout my process.
What would you do with that guilty stash that you just can’t toss out? Leave your comments.
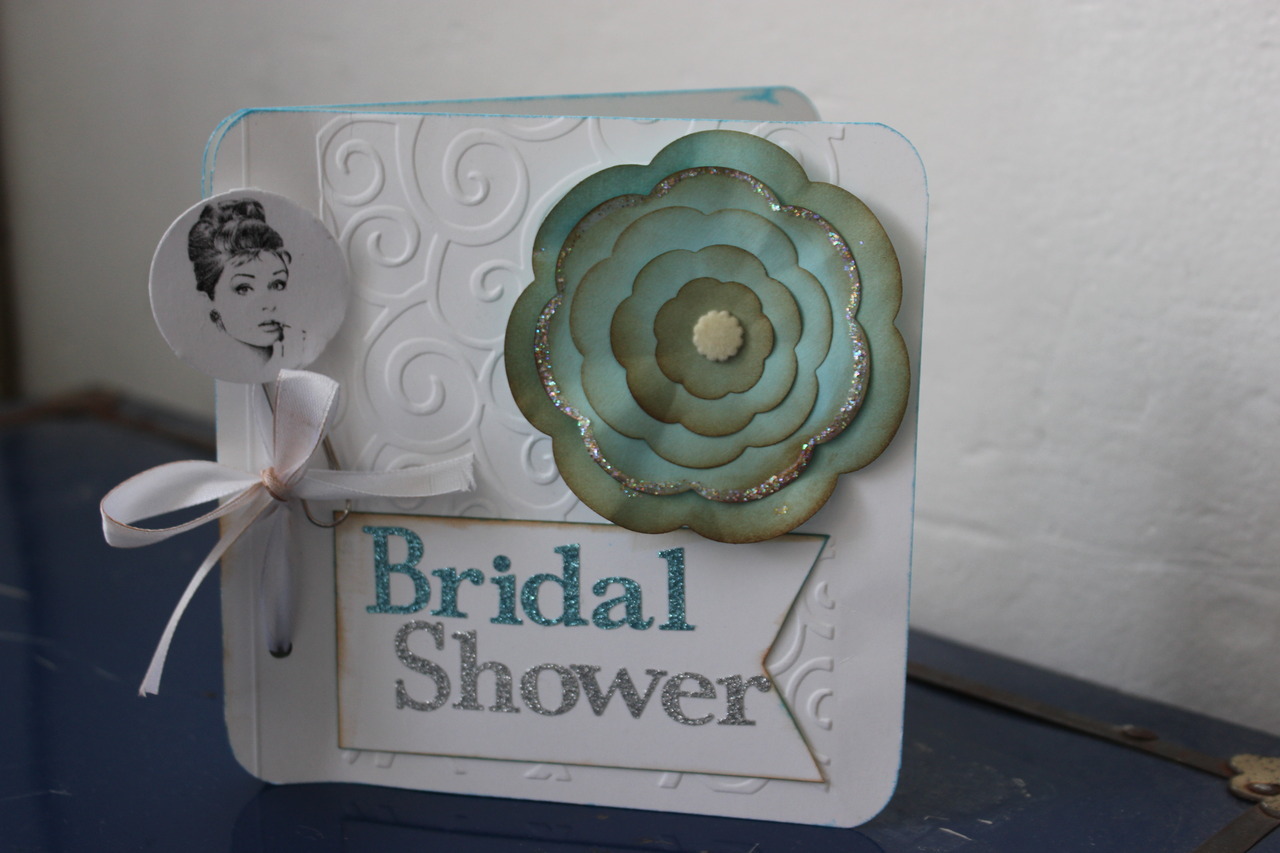
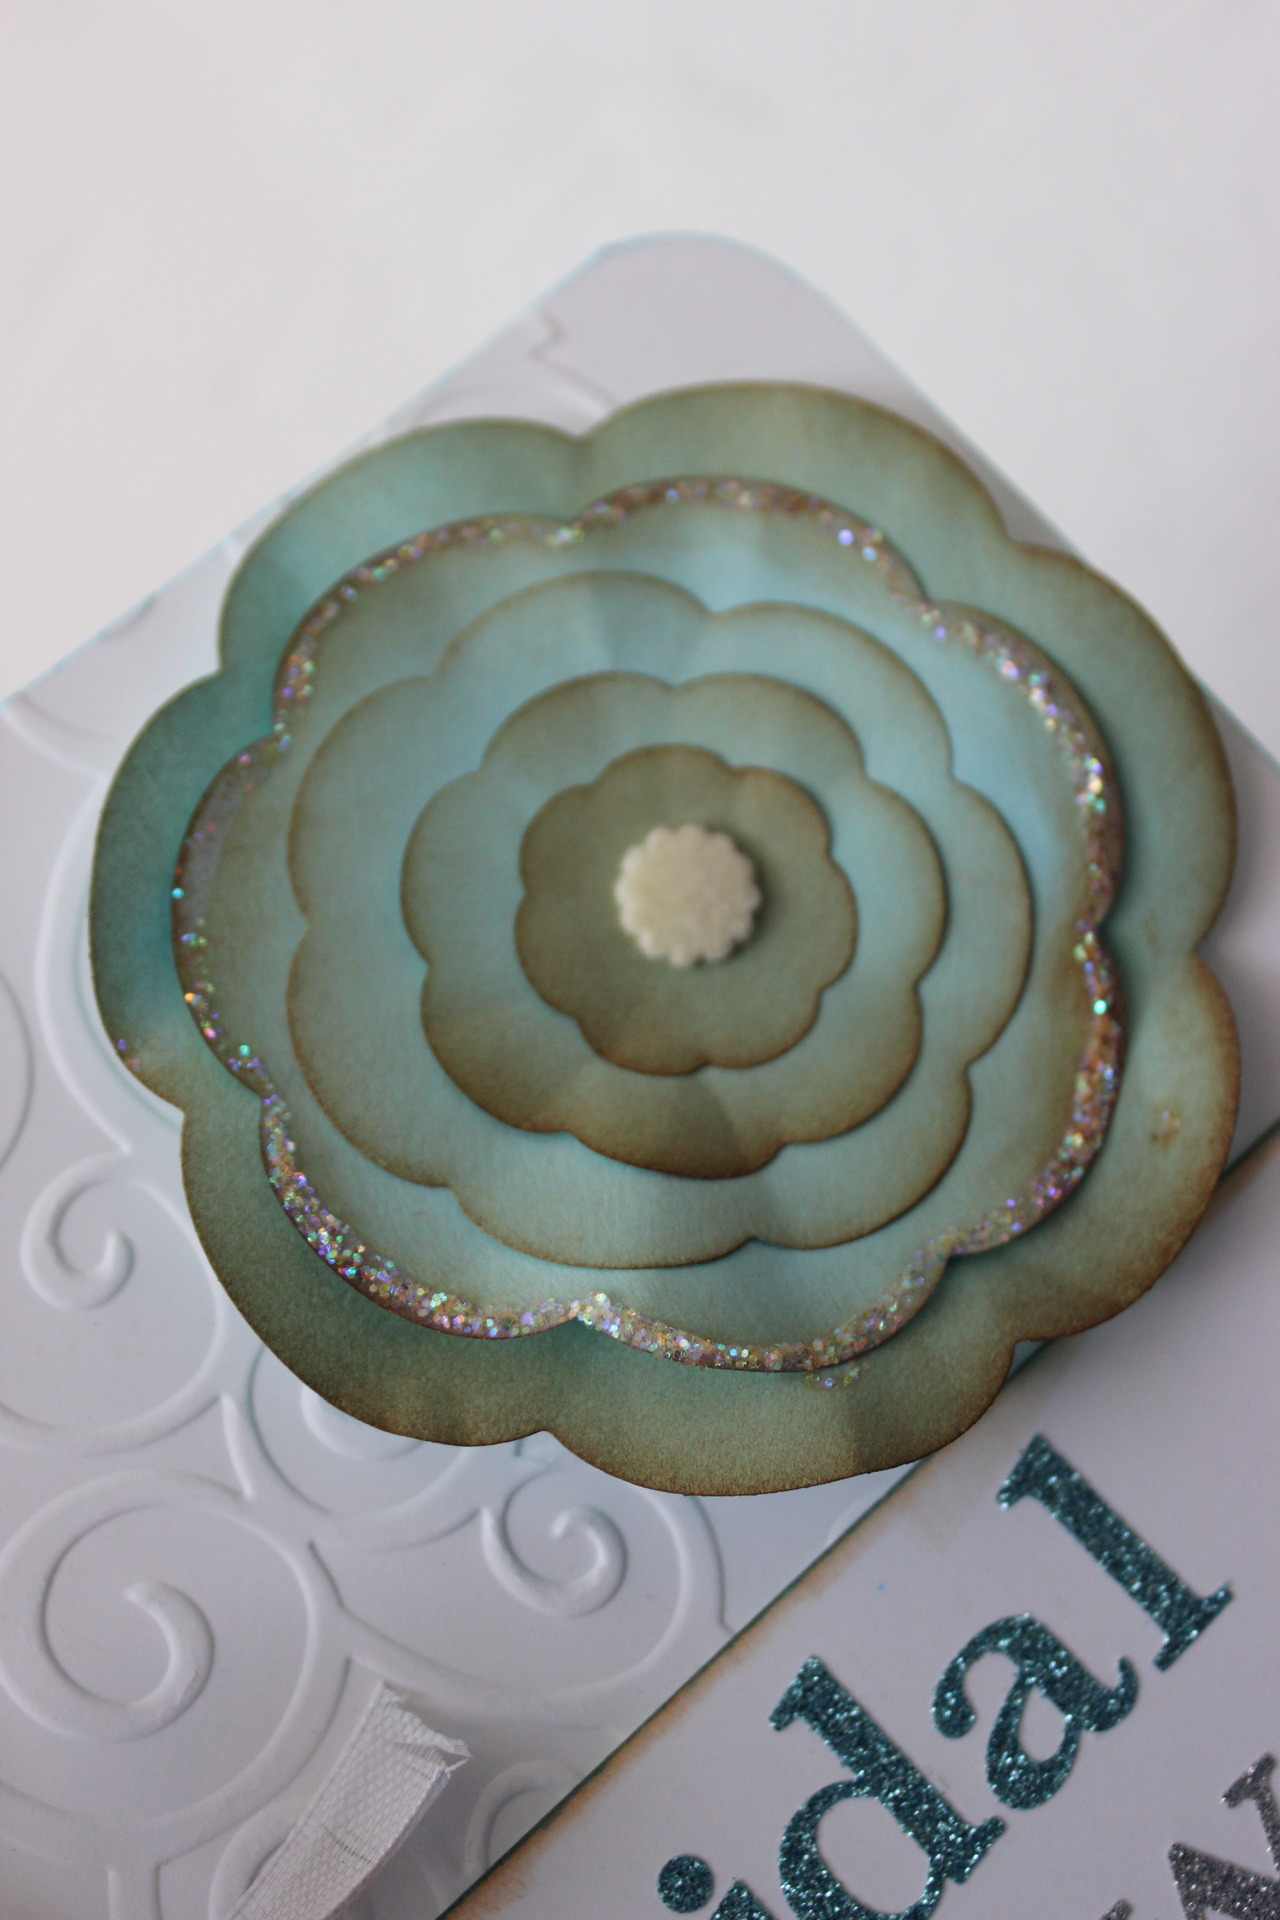
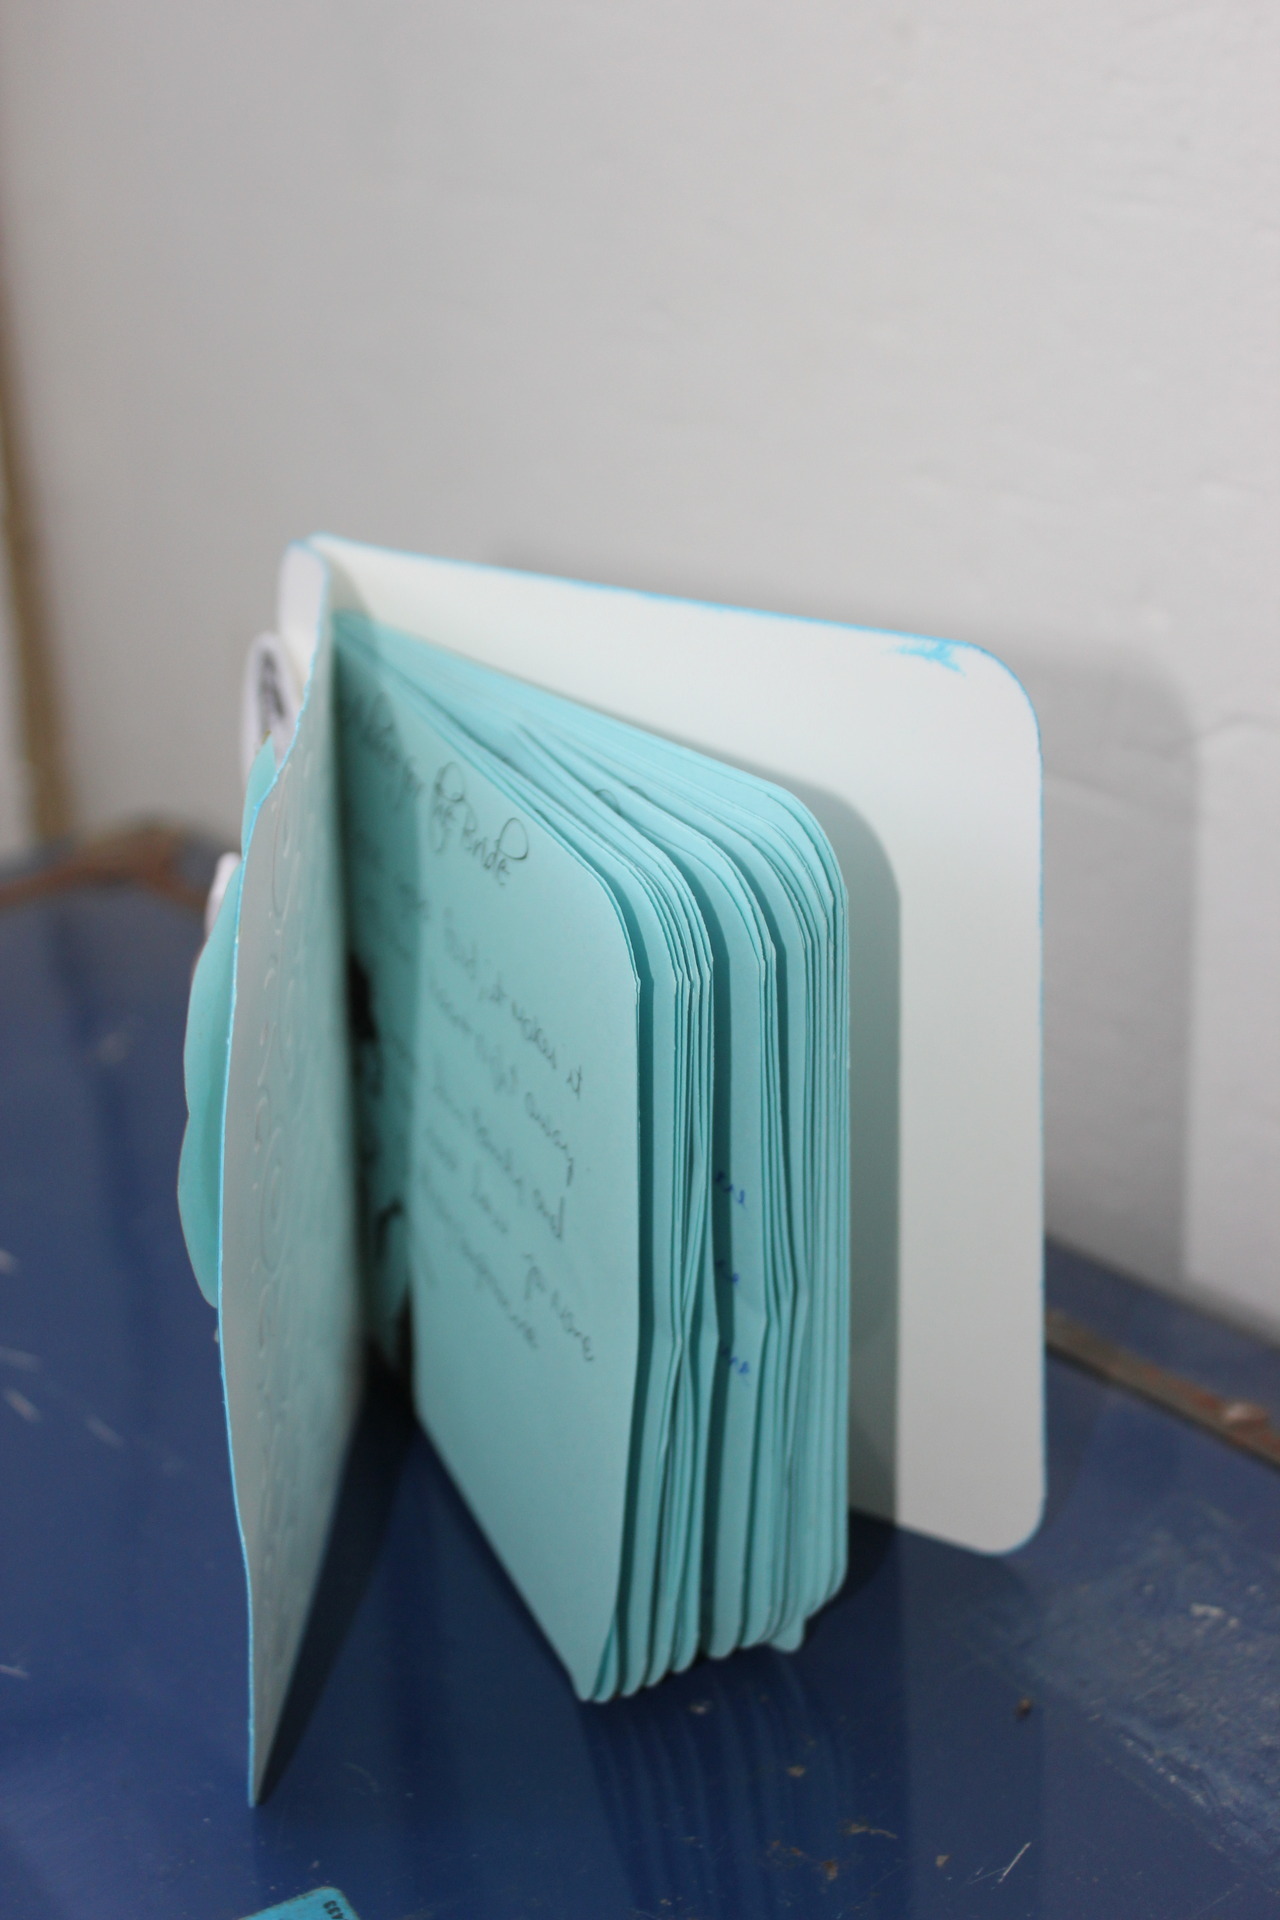
I created this handmade book for a friend of mine whose bridal shower I had planned in January. I used a Cuttlebug embossing folder to create a design on 120lb ultra thick card stock I purchased at simonsaysstamp.com and then used a Spellbinders Nestablities peony die to cut out the shape of the flower. I used some Tim Holtz vintage photo on the edges of the flower petals to give them some dimension and finally adhered the flower using a pop dot. I then took some ribbon and put the book together by creating a bow with some white silk ribbon which was from the bridal shower. I used my cropadile to punch holes through the book and was able to get the entire book punched through in one shot which was awesome! It is one of my favourite tools for sure!! I used the Tim Holtz distress ink to add some color to the ribbon so it could match the flower and did the same for the banner ended title and using some glitter font from Making memories to follow through back onto the theme of the shower. Lastly I added that final paperclip with the Audrey Hepburn images to the corner to once again bring back the memory of the shower. I will be posting some images from the shower in a later post and the DIY items I created for that event!