
I finally created this piece for my room and these DIY instructions for you.
Here is what you will need:
- Tons of extra pens and pencils
- Plywood Board
- Hot Glue guns
- glue sticks
- spray paint primer
- Gold spray paint
- lined paper
- adhesive spray glue
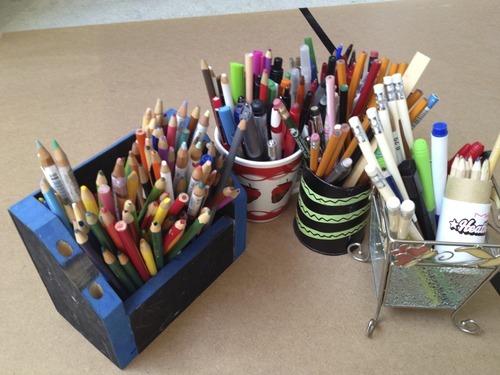
Start by collecting all of mishmash of pens and pencils
Separate, organize and sort the pencils/pens (put aside the ones you really want to keep…these were just too good to use up!)
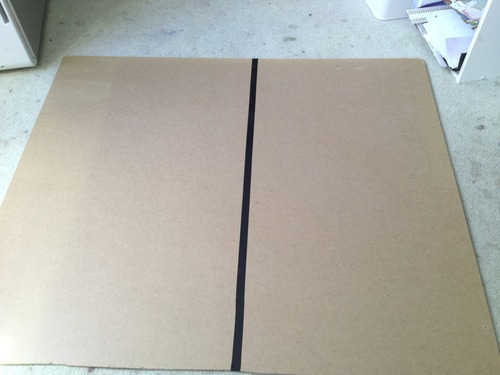
My plywood board was a lot bigger than I needed it so I taped off the part that I did not need and planned to saw that off.
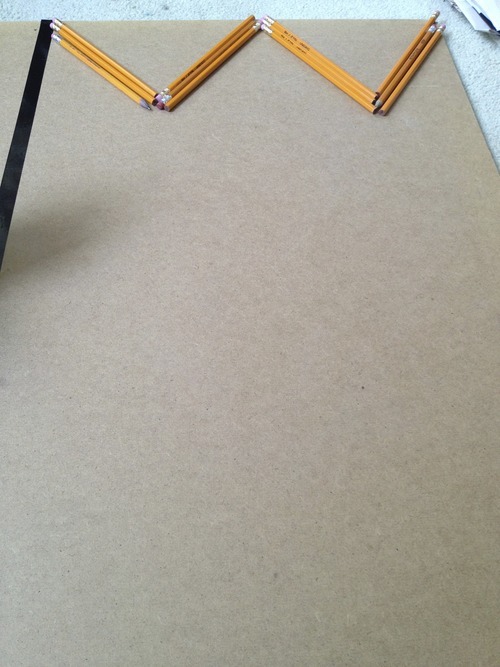
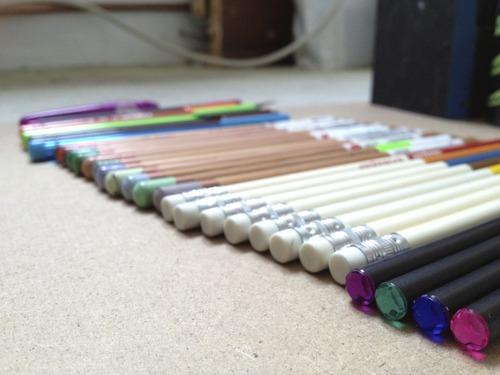
Start by placing pencils on top and working your way down, creating a pattern.
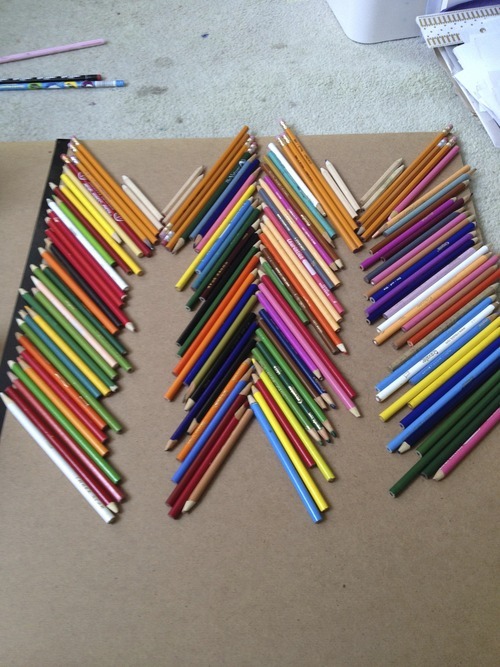
If you wanted you could use just the pencil crayons and put them in colour order.
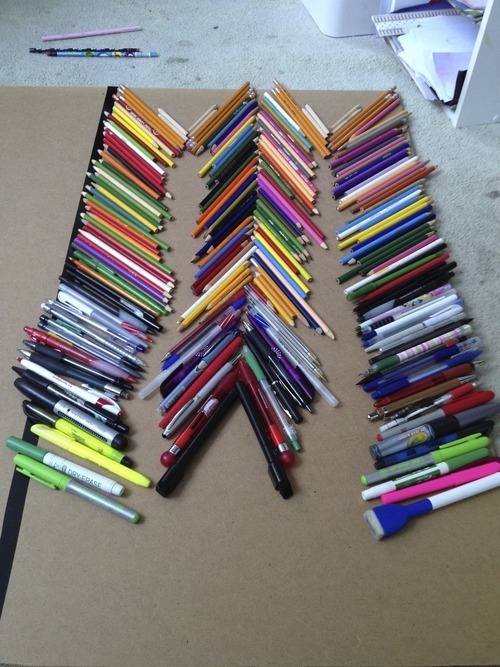
I arranged my board to my liking, having pencils on top, pencil crayons down the middle and finally pens/mechanical pencils and bigger markers near the bottom. My plan was to use up everything I had and paint over it.
Once arranged, heat up the glue gun and start gluing things down. Always plan first and then glue so that you are sure you like what you have made.
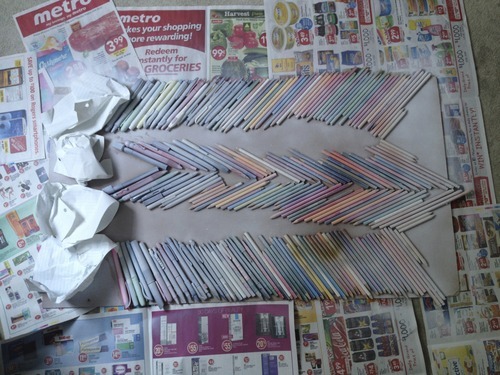
I finally filled in the bottom gap of plywood with some crunched paper and stuck it on with a spray adhesive.
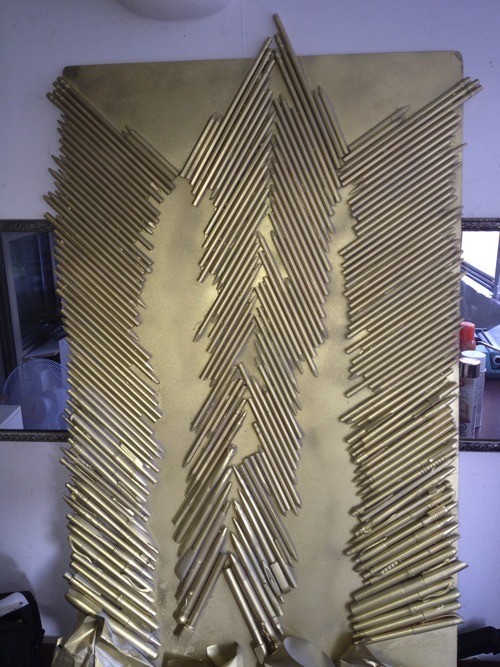
I tried to take the glued board out the window to spray paint it, however due to the lack of space I used it in (sort of well) ventilated room with newspaper covering the carpet. First Spray with a primer so that you are spraying on white and the colour comes out the best it can.
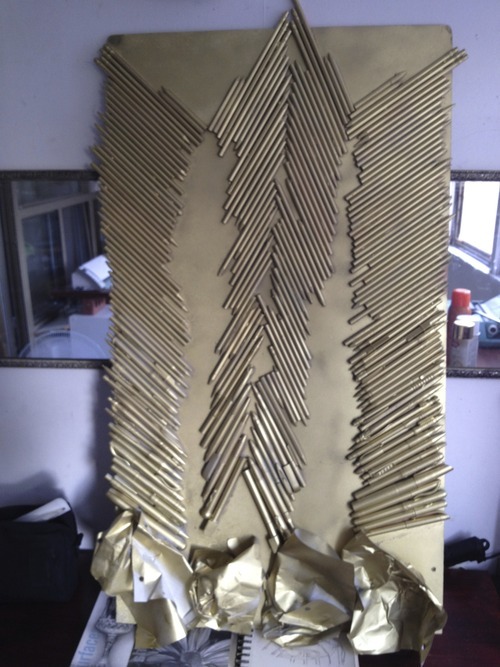
and the Final Product will look like this at the end! A Lovely add on into any room.
No comments:
Post a Comment