
Hey Everyone! Here is a great new project for the weekend. You should all know one thing about me and Valentine's Day; I Love it! It has always been my favourite holiday of all time since I was a child. I am preparing for Valentine's Day by decorating the mantle at home with lots of pinks, reds and white! I am slowly working on some projects in between my school work. So far, I have created a cute hanging tissue paper flower (with two colors), a decorated candle that sits on some smaller tissue paper flowers and a card holder. The card holder is a combination of a paper heart chain that would mimic a wreath and a board I wanted to create for a 'mailbox' for cards. I will have a small DIY tutorial in another post for that project.
____
For this project on how to make a hanging tissue paper flower you will need:
- 8 sheets of tissue paper (This one was 20x20, the smaller it is the smaller your flower will be)
- Twist tie
- Scissors
- Pencil
- thread for hanging


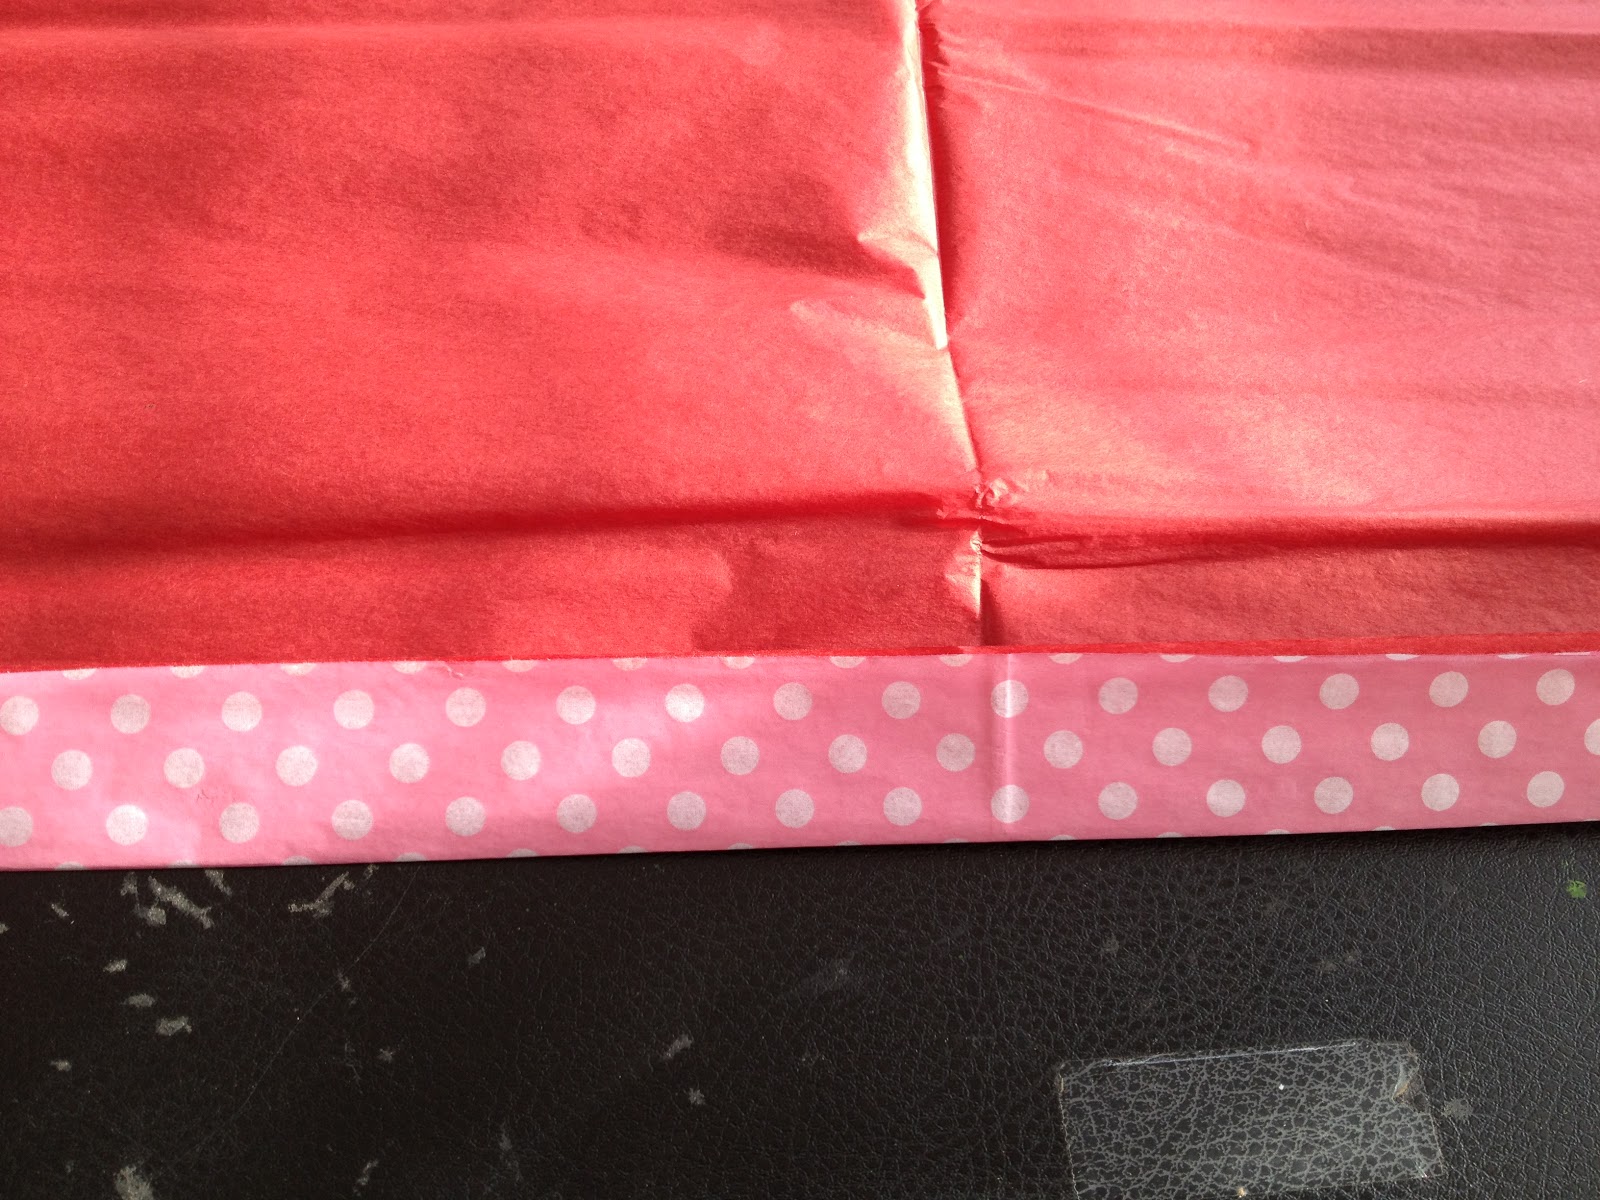
Layer and align your sheets of paper so that all the sides match perfectly. My red sheets were a little longer so I trimmed them to match to the pink. I loved the printed sheet with polka dots, I thought it gave it a cuter look. This is the best way to make a two color tissue paper flower.
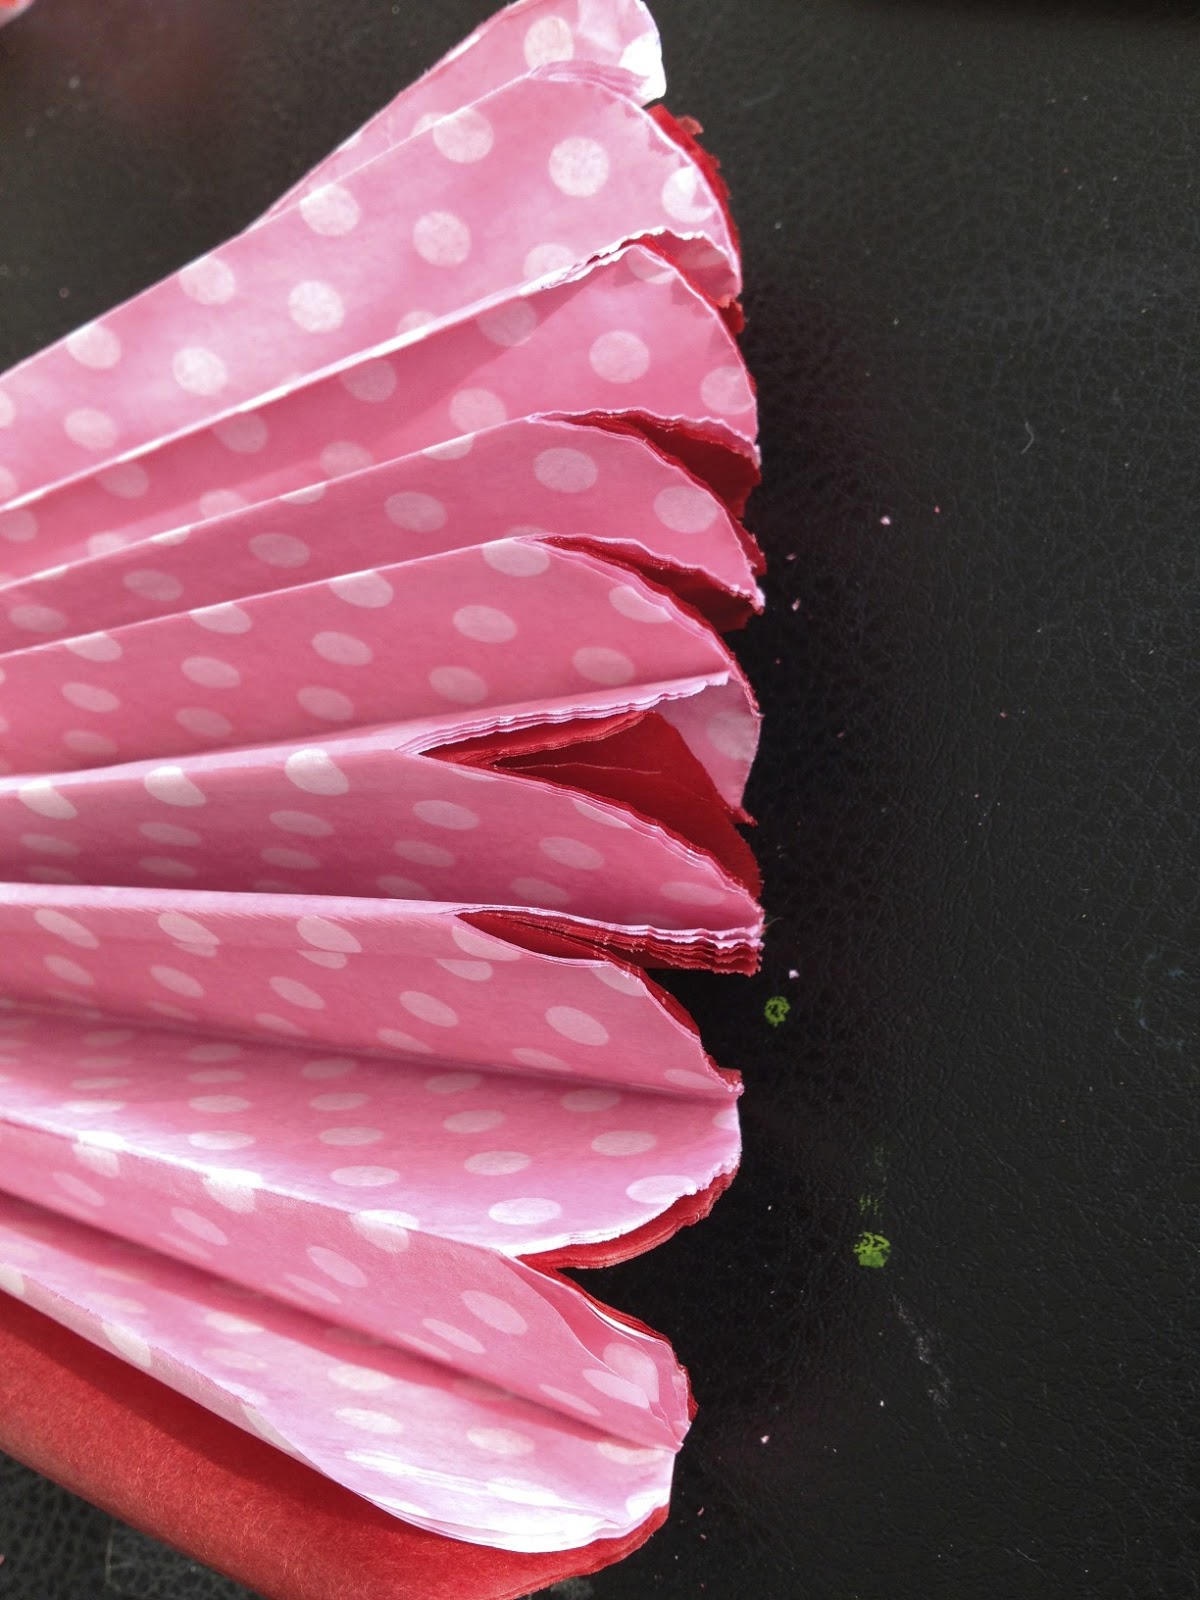
This is the easiest way to make the tissue paper flower. All you have to do is fold it accordian style while making sure all the tissue paper sheets are always aligned and straight up against each other. Fold on the shorter side, making one inch folds. If you make them 1.5 inches the flower will be larger. Keep going back and forth flipping it over after every fold. Remember those paper fans you would make on hot, no air conditioning school days? Well, it's the exact same method!

Once it is all folded and becomes one strip, carefully fold it in half, length wise, so that the ends meet. This step is to make sure you can get a good crease into the tissue paper middle.

Slip the twist tie into the middle of the crease you made, you can also use a thin guage wire for this step. The remaining ends of the twist tie can be made into a loop for hanging.

Were almost there! Use your pencil (or, pencil crayon in my case!) and make a rounded edge by tracing something circular or by free hand. I used the thread spool to trace it so I could get a perfect shape. Once you do this on both sides, carefully cut along the line. Don't rush this part. The tissue paper will be really thick and you want to make sure you dont have any slips from your scissors.
After you cut it along you will see that the shape is coming together. If you did have a slip, thats okay, the flower will be spread apart and be very fluffy. No one will notice!
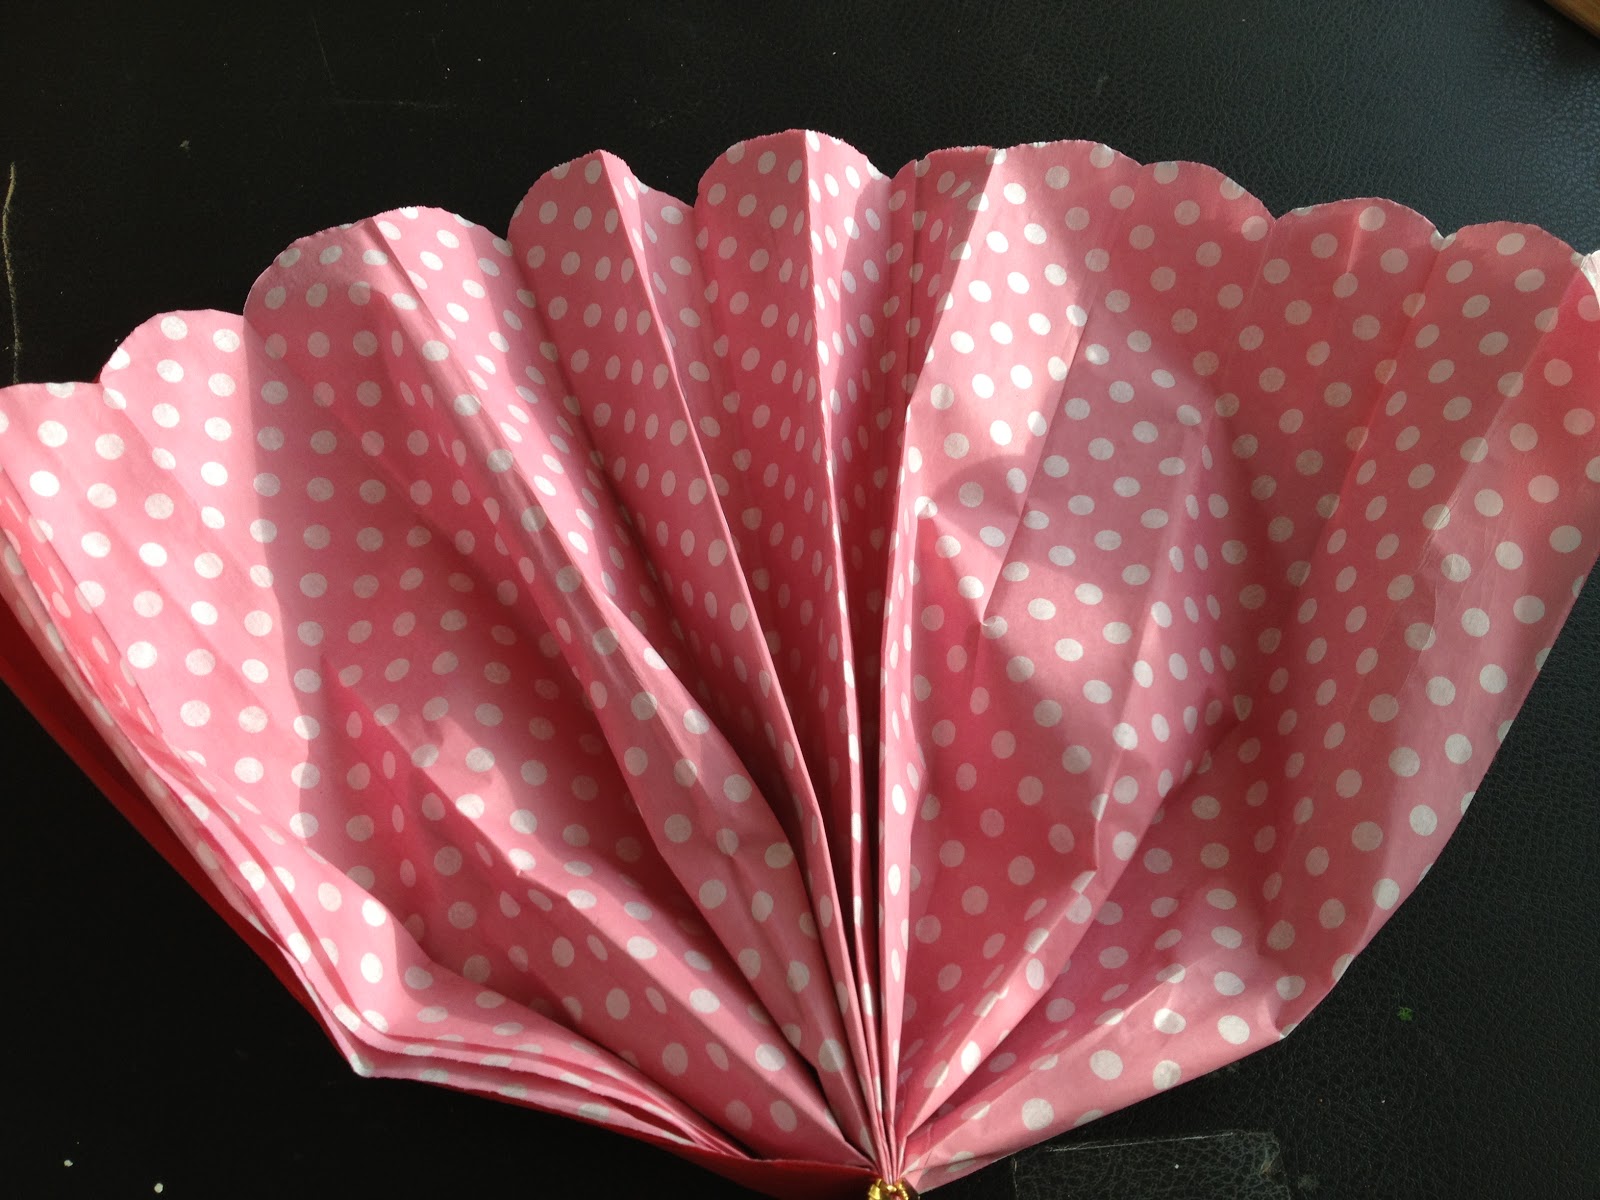
Spread out the folds carefull and try to get them to lie flat. Before you can start pulling the tissue paper apart, put the thread through the twist tie or though the loop if you made one. Make sure you make it longer than you need, it will be hard to get back in there if it is too short.

This is the fun part. Slowly separate each piece of tissue paper from one another. Be patient and try not to let the tissue paper rip.

Make sure you are getting right to, or as close as you can to the twist tie.
Once you have pulled it all apart, play around with the puffs and the tissue paper so that you can have a good size and shape. Hang it from the celing or you can stick it to a wall with a few of them to make a fun back drop!
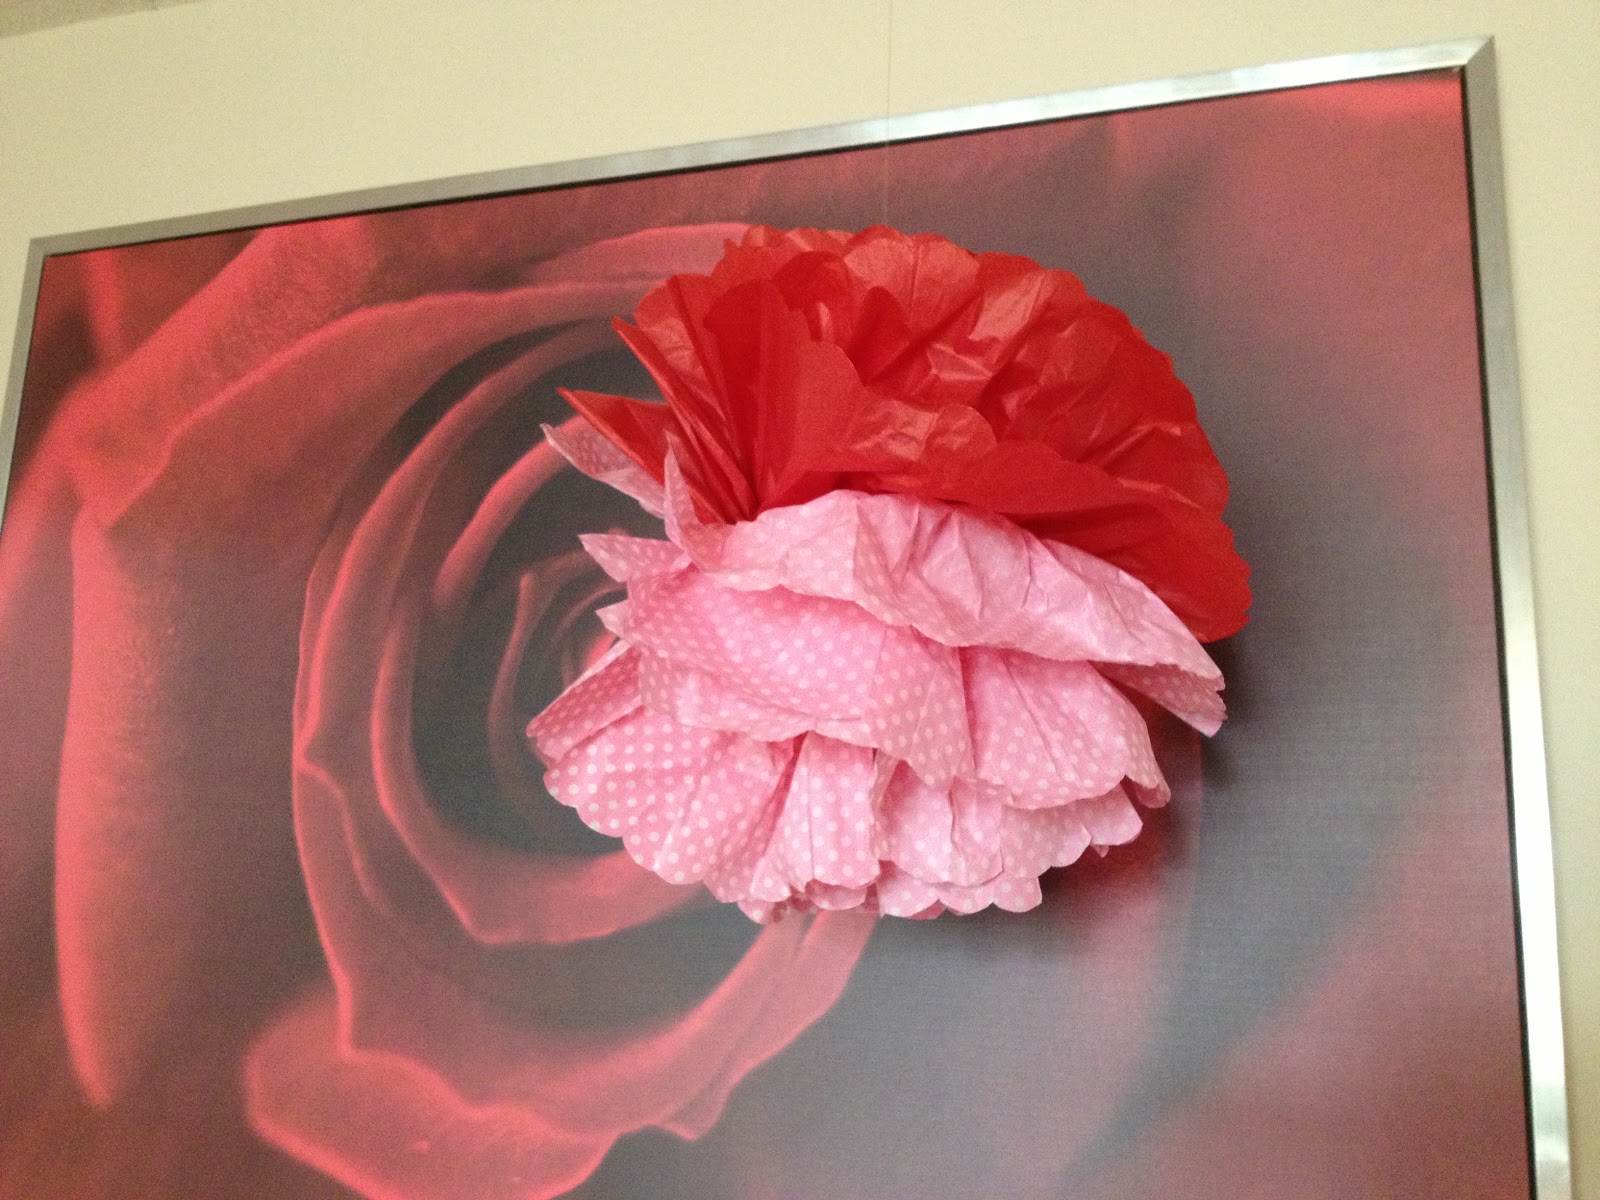
There you are! A crafty way to bring some Valentine's Day fun into your home!
Easy peasy work! Thanks for the post!
ReplyDeleteNo problem! Love quick crafts! Glad you enjoyed it.
Delete