Just as we hit the halfway point of Ramadan, I finally found some time to write a blog post, host a dinner and make it my kinda fancy.
I called my friends over for a small iftaar and realized that I enjoy hosting smaller groups of people now in comparison to when I was much younger and called everyone I even kind of knew to come over to my place. That was also when I was completely okay with a messy bed and tons of people cramped in a room — glad that phase is long gone.
Here's a look at how I served up a delicious meal, made a beautiful table scape and it took less than two hours to put it all together.
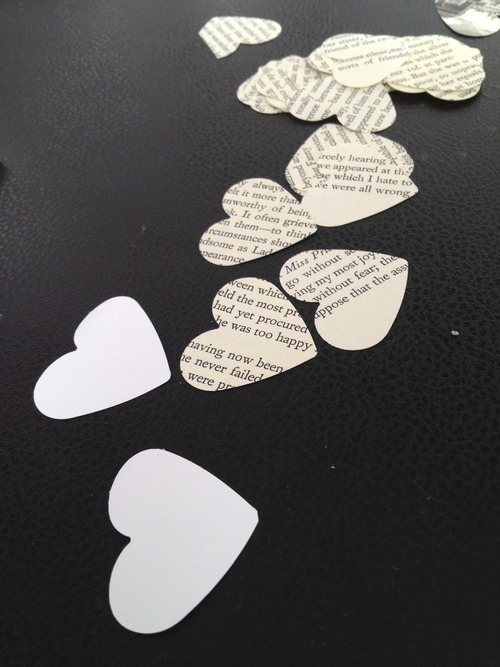
The Tablescape: I used scrapbook paper as placemats. This helped keep them all a little different, yet match in terms of colour scheme at the same time. I used the Dear Lizzy Neapolitan collection from American Crafts - one of my favourite lines of paper.
I cut out mason jars from another sheet of the same collection and used that as simple place cards. These stood up with clothing pegs and I hand-stamped names for each person. They were a definite hit. Everyone loved them!
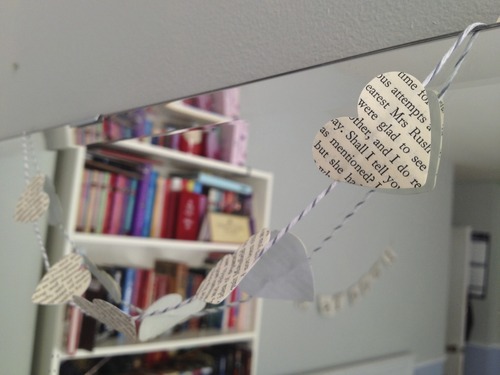
I added to the mason jar love by putting candles into mini jars across the table, incorporated my mason jar potted mint into the centrepiece and used my 1920's Ball Mason jar as a vase for my flowers. I clustered my succulents onto a lazy Susan with the other elements and it looked great!
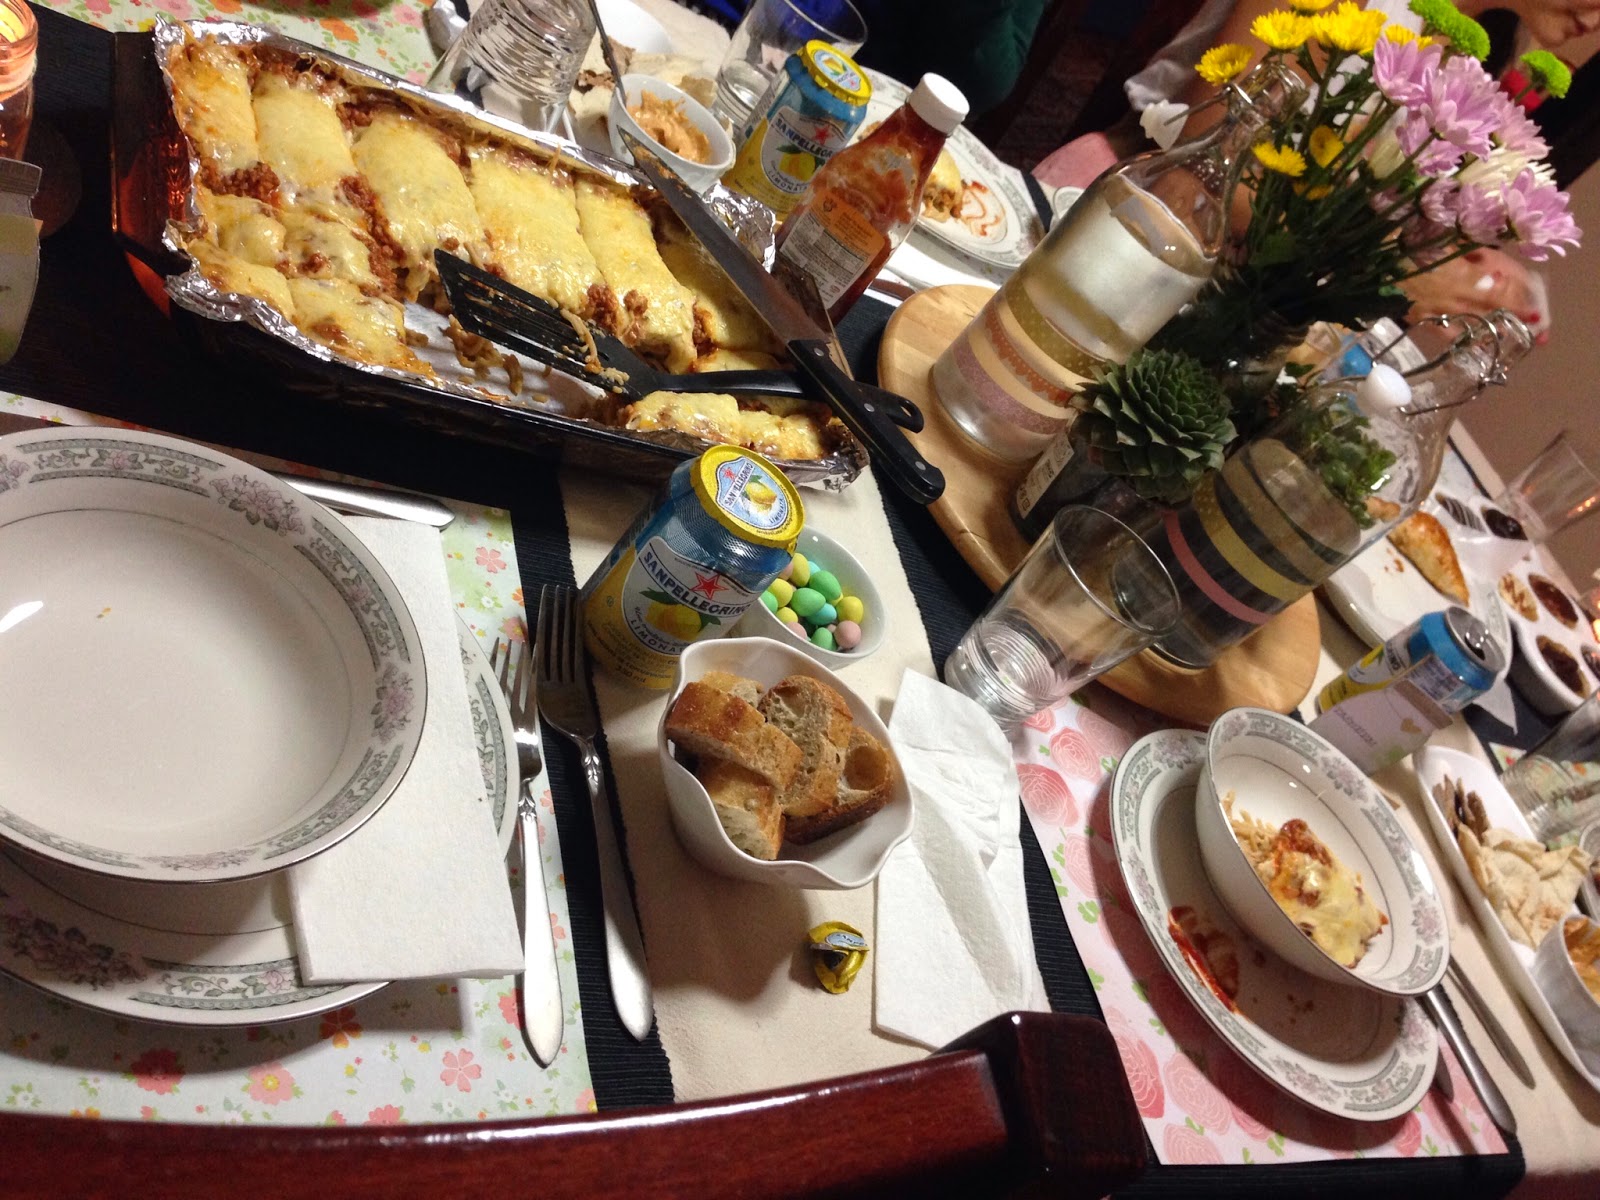
On the Menu: For the main, I made a delicious and easy baked spaghetti dish with whole grain pasta, ground beef, low fat ricotta, skim mozzarella and parmesan. I will include the recipe after the break.
For the apps, we had spicy hummus with pita and home made lavash (followed this recipe), whole grain bread & butter and puffed chicken pastries. Everyone drank San Pellegrino Limonata (my fave!) and some Bamboozled ice tea from David's Tea. We finished off with some delicious mousse desserts.


Baked Spaghetti:
Spices and/or herbs of choice. I used dried basil, salt and chilli flakes
Directions:1. Preheat oven to 400 degrees F and line a baking tray with foil.2. Add butter to hot cooked spaghetti and stir until butter melts and coats spaghetti. Add 1/2 cup Parmesan cheese; stir to coat.
3. Add spaghetti to a foil-lined pan in an even layer.
4. Spread ricotta cheese over spaghetti and sprinkle it with half of the remaining Parmesan cheese.
5. Brown ground beef and burn away any water. Add pasta sauce, spices, salt and herbs. Mix well and let it cook for a bit on Medium.
6. Evenly spoon it as the next layer on top of the cheese.
7. Top with mozzarella cheese and remaining Parmesan cheese.
8. Cover with foil — try to leave some space so the cheese does not stick and bake for 30 minutes.
9. Remove foil cover and continue baking 15 minutes or until cheese is lightly browned. Let stand 10 minutes before serving.
I called my friends over for a small iftaar and realized that I enjoy hosting smaller groups of people now in comparison to when I was much younger and called everyone I even kind of knew to come over to my place. That was also when I was completely okay with a messy bed and tons of people cramped in a room — glad that phase is long gone.
Here's a look at how I served up a delicious meal, made a beautiful table scape and it took less than two hours to put it all together.
The Tablescape: I used scrapbook paper as placemats. This helped keep them all a little different, yet match in terms of colour scheme at the same time. I used the Dear Lizzy Neapolitan collection from American Crafts - one of my favourite lines of paper.
I cut out mason jars from another sheet of the same collection and used that as simple place cards. These stood up with clothing pegs and I hand-stamped names for each person. They were a definite hit. Everyone loved them!
I added to the mason jar love by putting candles into mini jars across the table, incorporated my mason jar potted mint into the centrepiece and used my 1920's Ball Mason jar as a vase for my flowers. I clustered my succulents onto a lazy Susan with the other elements and it looked great!
On the Menu: For the main, I made a delicious and easy baked spaghetti dish with whole grain pasta, ground beef, low fat ricotta, skim mozzarella and parmesan. I will include the recipe after the break.
For the apps, we had spicy hummus with pita and home made lavash (followed this recipe), whole grain bread & butter and puffed chicken pastries. Everyone drank San Pellegrino Limonata (my fave!) and some Bamboozled ice tea from David's Tea. We finished off with some delicious mousse desserts.
Baked Spaghetti:
8oz cooked whole wheat spaghetti
2 tablespoons of butter OR margarine1 cup grated Parmesan cheese - divided1 tub of low fat ricotta cheese 1 lb ground beef - browned1 can spaghetti sauce250g skim mozzarella cheese — shredded for top layerSpices and/or herbs of choice. I used dried basil, salt and chilli flakes
Directions:1. Preheat oven to 400 degrees F and line a baking tray with foil.2. Add butter to hot cooked spaghetti and stir until butter melts and coats spaghetti. Add 1/2 cup Parmesan cheese; stir to coat.
3. Add spaghetti to a foil-lined pan in an even layer.
4. Spread ricotta cheese over spaghetti and sprinkle it with half of the remaining Parmesan cheese.
5. Brown ground beef and burn away any water. Add pasta sauce, spices, salt and herbs. Mix well and let it cook for a bit on Medium.
6. Evenly spoon it as the next layer on top of the cheese.
7. Top with mozzarella cheese and remaining Parmesan cheese.
8. Cover with foil — try to leave some space so the cheese does not stick and bake for 30 minutes.
9. Remove foil cover and continue baking 15 minutes or until cheese is lightly browned. Let stand 10 minutes before serving.
Enjoy!