Showing posts with label ribbon. Show all posts

November 07, 2012

Picks of the Week

Here are the picks for this week. I am in love with paper, but you all should know that by now. I love this wrapping paper that is an online exclusive for Anthropologie. These striped coffee bags are so chic and you can use them for anything other than coffee. It is a great way to hand deliver some holiday cookies to your friends and family. Another thing I just adore are the nesting dolls. I have yet to get my hands on them but they are great. You can grab these nesting dolls from Urban outfitters and use them as a the measuring cups like they were made for. I grabbed this May Arts Fleur de Lis Ribbon a while ago and haven't really used it yet, I just really liked the print and will one day find a use for it! Lastly, I found these super cute Octagon shaped vintage labels and I always love me some vintage!


Printed Coffee Bags (Creative Bag)
Matryoshka Measuring Cups (Urban Outfitters)
May Arts Fleur De Lis Ribbon (Bizzy B Stamp and Scrap)
Octagonal Lables  (Present&Correct)

October 28, 2012

Weekly Store Pick #2

This is a beautiful Ribbon and chain necklace made with pink ribbon and Gold colored chain. Each link is 1.25cmx1cm and the length of the entire ribbon measures 69 cm. To wear/clasp the necklace you will tie the ribbon ends.

October 13, 2012

Weekly Store Link

Heyy y'all!
Today I would like to share a product that I have made. You can purchase it here on Etsy. Please comment/share with your thoughts and opinions!
Thanks.


October 08, 2012

DIY: Book Paper Flower

This is a tutorial I found on Pintrest and decided to do a rendering of my own by following the instructions from it.


For this project you are going to need:


  • Book Paper
  • White Glue
  • Scissors
  • Stem / 20 gauge wire/Thin wooden dowel
  • Green grosgrain ribbon


After choosing your book paper, cut out 5 pieces of 5 arch shapes in 5 different sizes for a total of 25 pieces. Make sure you keep the font in one direction so that the final product looks cohesive.  
Ben the center of each 'petal' and create a rounded edge by curling in the top to give a more natural shape.

I used a mini clothing peg to hold the petals together in order for the crease to be really crisp. I had arranged 5 sets from smallest to largest. 

Once you are satisfied with the crease, start with the smallest piece a wrap around the wire, dowel or stem. I had used a stem from an old faux flower of which I had cut the top off. 

September 07, 2012


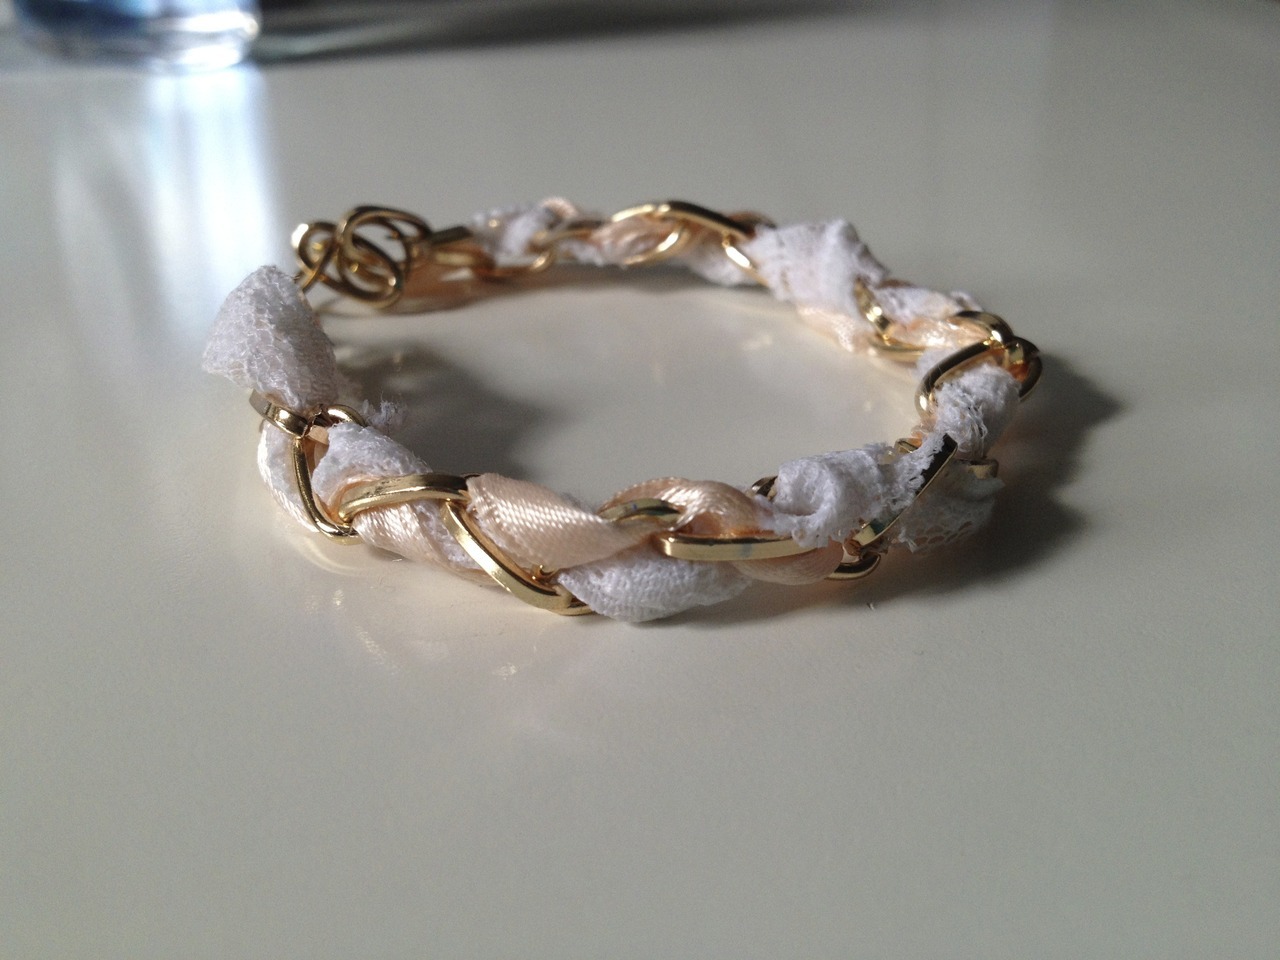
Just made this beautiful bracelet, intertwined with delicate lace and peach satin ribbon. 

Pintrest "pin it"

Related Posts Plugin for WordPress, Blogger...